
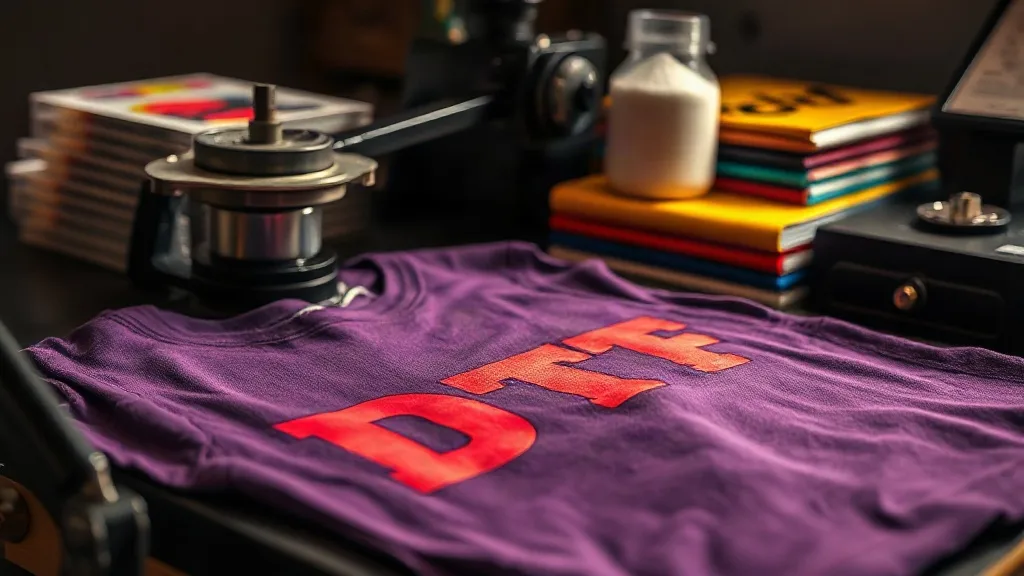
When you first start working with dtf transfers, the promise is simple: print a design on film, apply heat and pressure, and watch it bond to almost any fabric. But the reality is more nuanced. Achieving a flawless finish on cotton, polyester, blends, and even tricky materials like nylon or canvas requires more than just following a temperature chart. It demands an understanding of how the adhesive interacts with different fibers, how pressure and time affect the bond, and how to troubleshoot when things go wrong. This guide is your field manual for getting consistent, durable, and vibrant results every time you press a transfer, no matter the substrate.
Why DTF Transfers Are a Game-Changer for Fabric Versatility
Direct-to-film (dtf) technology has exploded in popularity because it sidesteps the limitations of traditional decoration methods. Unlike vinyl, which struggles with fine details and multi-color designs, or screen printing, which requires setup for each color, DTF transfers handle complex artwork with ease. More importantly, they adhere to a wide range of fabrics. Cotton, polyester, cotton-poly blends, nylon, canvas, and even some leathers can all receive a DTF transfer with proper application. This versatility opens up new markets for print shops, from performance wear to heavy-duty workwear.
But not all fabrics behave the same under heat. A transfer that looks perfect on a 100% cotton tee might crack or peel on a polyester jersey if you don't adjust your process. The key is to understand the fiber composition and adjust your application parameters accordingly. In the following sections, we'll break down the specifics for different fabric types and share practical tips to ensure your prints stay put.
Understanding the DTF Transfer Process
Before diving into fabric-specific advice, let's quickly recap how DTF transfers work. The process involves printing your design onto a special PET film using pigment inks, then applying a thermoplastic polyurethane (TPU) adhesive powder while the ink is still wet. After curing the powder, the film is ready to be heat-pressed onto a garment. The TPU powder melts under heat and fuses the ink layer to the fabric fibers. The quality of the bond depends on three critical factors: temperature, pressure, and time. Getting these right for each fabric is the foundation of flawless prints.
Temperature: The Goldilocks Zone
Most DTF transfers are applied between 300°F and 340°F (150°C to 170°C). However, the ideal temperature varies by fabric. For cotton, higher temperatures (around 330°F) work well because cotton fibers can withstand heat and the adhesive penetrates deeply. For polyester, lower temperatures (around 300°F) are safer to prevent dye migration and fabric scorching. Blends fall somewhere in between. Always check the fabric's care label and test a small area if you're unsure.
Pressure: Even and Firm
Pressure ensures the transfer makes full contact with the fabric. Too little pressure and the adhesive won't bond; too much and you risk flattening the fabric or causing the ink to spread. A medium to firm pressure is typically recommended, but you may need to adjust based on your heat press. Consistent pressure across the platen is crucial, so make sure your press is calibrated and the garment is positioned flat without wrinkles.
Time: Don't Rush the Bond
Press times usually range from 10 to 15 seconds. Thicker fabrics or those with a rougher texture may require a few extra seconds to ensure the adhesive fully penetrates. However, over-pressing can degrade the TPU powder and lead to a stiff feel or reduced durability. Start with the manufacturer's recommendation and fine-tune based on your results.
Fabric-Specific Application Tips
Now, let's explore how to tailor your DTF transfer application for different fabric types. These insights come from countless hours of pressing and troubleshooting in real print shops.
Cotton and Cotton-Rich Blends
Cotton is the most forgiving fabric for DTF transfers. It handles higher temperatures well and the adhesive bonds strongly to the natural fibers. For 100% cotton, pre-press the garment for 5 seconds to remove moisture and wrinkles. Then apply the transfer at 330°F for 12-15 seconds with medium-firm pressure. Peel the film either hot or cold; hot peel is often easier for cotton because the adhesive is still pliable. After peeling, do a second press for 5 seconds with a Teflon sheet or parchment paper to smooth the print and ensure maximum durability.
For cotton-poly blends (50/50 or similar), reduce the temperature slightly to 315°F and keep the time at 12-15 seconds. The polyester content makes the fabric more heat-sensitive, so a lower temperature prevents scorching while still bonding well.
Polyester and Synthetic Fabrics
Polyester and other synthetics require a gentler touch. High heat can cause the fabric to shrink, melt, or release dyes that migrate into the transfer. Set your press to 300°F and press for 10-12 seconds with medium pressure. Always pre-press the garment to remove moisture and stabilize the fabric. Use a cold peel for polyester: let the transfer cool completely before removing the film. This prevents the adhesive from stretching and ensures a clean edge. If you're working with dark polyester, consider using a low-bleed DTF film or a dye-blocking underlayer to prevent dye migration.
For nylon, which is even more heat-sensitive, lower the temperature to 290°F and press for 10 seconds. Nylon also tends to repel adhesives, so a longer second press (10 seconds) with a Teflon sheet can help the transfer settle into the fabric.
Specialty Fabrics: Canvas, Leather, and More
Canvas and other heavy fabrics benefit from higher pressure and slightly longer press times to push the adhesive into the textured surface. Use 330°F for 15 seconds with firm pressure. Leather and faux leather require a lower temperature (290°F) and a quick press (8-10 seconds) to avoid damaging the material. Always test on a scrap piece first.
Troubleshooting Common DTF Transfer Issues
Even with the best settings, problems can arise. Here's how to diagnose and fix the most common issues.
Peeling or Cracking After Wash
If your transfer peels or cracks after washing, it's usually a sign of insufficient adhesion. This can be caused by too little pressure, too short a press time, or pressing over a wrinkled garment. Ensure your press is applying even pressure and that the fabric is flat. Also, check that the transfer was applied to a clean, dry surface. Pre-pressing the garment is essential to remove moisture and oils.
Dull or Faded Colors
Faded colors often result from over-pressing, which can degrade the ink. Reduce the temperature or time slightly. Also, make sure you're using high-quality DTF film and ink. If you're pressing on dark fabrics, a lack of opacity might be the issue; consider using a white ink layer or a transfer designed for dark garments.
Stiff or Rubbery Feel
A stiff print usually means too much adhesive powder was used or the transfer was over-pressed. Shake off excess powder before curing and avoid pressing for longer than recommended. Using a finer powder can also result in a softer hand feel.
Choosing the Right Supplies for Flawless Results
The quality of your DTF transfers depends heavily on the supplies you use. Not all films, powders, and inks are created equal. For consistent results, invest in reputable brands that offer compatibility between their components. If you're looking for dtf transfers near me, ensure the provider uses high-quality materials and provides proper curing instructions. Many suppliers offer pre-made transfers that are ready to press, which can save time and reduce variables.
When buying transfers, check the shelf life and storage conditions. DTF transfers should be stored in a cool, dry place away from direct sunlight. Stale transfers can lead to poor adhesion and color issues.
Frequently Asked Questions
Can I use DTF transfers on 100% polyester athletic wear?
Yes, but you need to adjust your settings. Use a lower temperature (around 300°F) and a shorter press time (10-12 seconds) to avoid scorching or dye migration. Always pre-press the garment and use a cold peel for best results.
How do I prevent the transfer from sticking to the film after pressing?
This usually happens if you peel too soon or if the transfer is still too hot. For cold peel transfers, allow the garment to cool completely before peeling. If you're using a hot peel transfer, peel immediately in a smooth, steady motion.
What's the best way to wash garments with DTF transfers?
Turn the garment inside out and machine wash cold with mild detergent. Avoid bleach and fabric softeners. Tumble dry low or hang dry. Do not iron directly over the print; if needed, iron inside out on a low setting.
Can I layer DTF transfers for multi-color designs?
Yes, you can layer transfers, but it's tricky. Press the first transfer, then apply the second on top, slightly increasing the press time to ensure both layers bond. However, layering can make the print feel thick, so it's often better to use a single transfer with all colors printed.
How do I store unused DTF transfers?
Keep them in a cool, dry place, away from direct sunlight and moisture. Store them flat or rolled, not folded, to prevent creases. Use them within six months for optimal performance.